4th Sep 2026
Kitesurfing in Auckland & New Zealand: The Complete Beginner's Guide
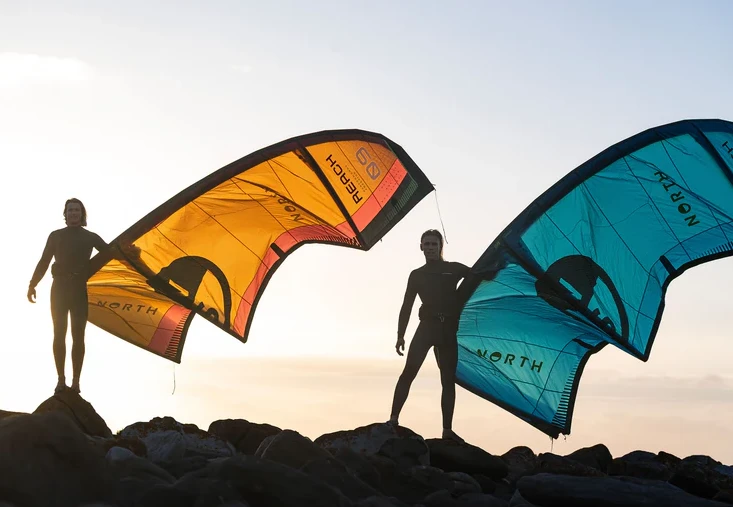
Learn what kitesurfing actually involves, why Auckland and New Zealand are some of the best places in the world to do it, and exactly what gear you need - from your first bar and board through to harnesses, wetsuits, and safety kit.
What is kitesurfing?
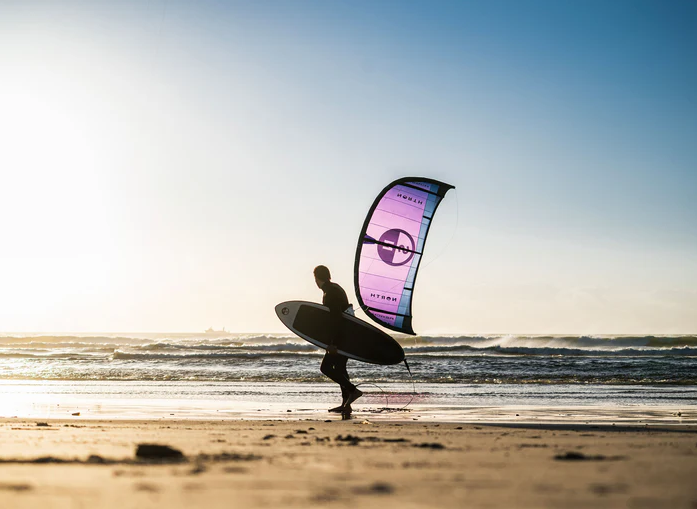
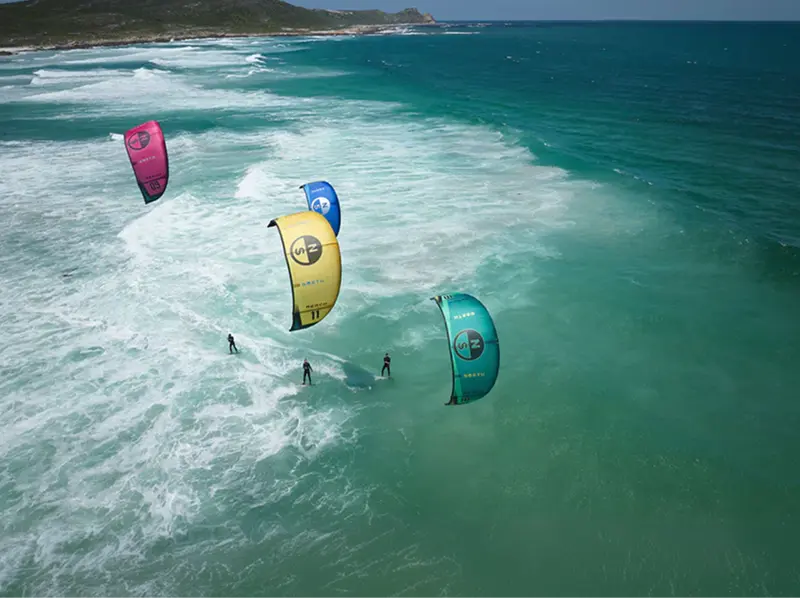
Kitesurfing or Kiteboarding combines a large inflatable kite, a control bar and lines, a board, and a harness that connects you to the kite. The kite generates pull across the wind window, and you use that power to plane across the water, jump, ride waves, or send yourself upwind and back - all controlled from a bar in your hands.
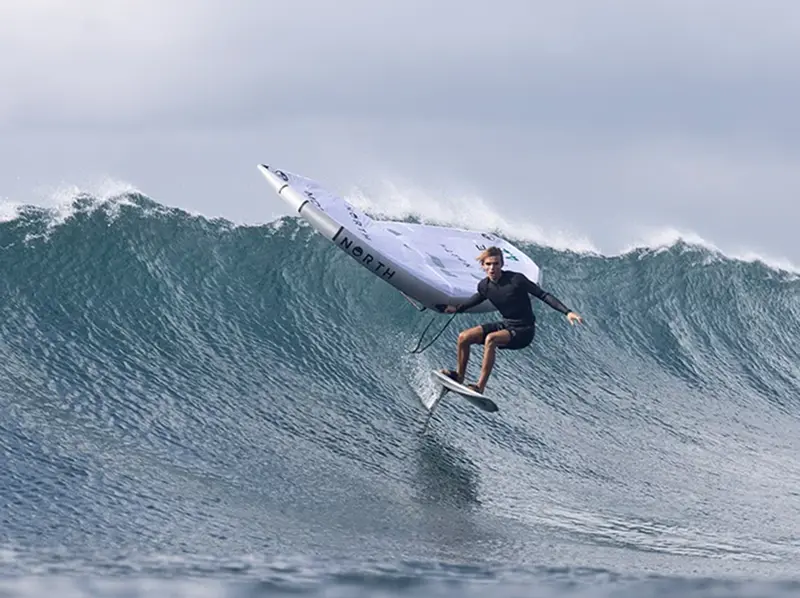
It can be mixed up with wingfoiling, which uses a handheld inflatable wing instead of a flown kite. If you want to compare the two disciplines and figure out which suits you, browse our Wing foil gear alongside this guide.
Why Auckland & New Zealand are made for kitesurfing
New Zealand sits directly in the "Roaring Forties" wind belt, which means reliable sea breezes and consistent thermals through most of the riding season (roughly October to April). But there is wind all year round, especially with the strong Westerlies. Auckland alone has more than 40 recognised kite spots scattered across its harbours, bays, and west coast beaches like Muriwai, so there's almost always a rideable spot somewhere in the city on any given day, whatever the wind direction.
Beyond Auckland, the variety across the country is hard to match - Northland (Rangiputa, Tokerau…) wider east Auckland area (Mangawhai, Orewa…), wave-riding on Taranaki's exposed west coast, harbour flatwater around Tauranga, and alpine lake thermals down in the South Island. Wherever you're based, there's a home spot within reach.
Your first kite setup
A complete kitesurfing setup has four core pieces: a kite, a bar and lines, a board, and a harness. Add a wetsuit and safety gear like impact vest and helmet and you're ready to session.
If you're just starting out, don't try to buy the most advanced version of everything. Beginners get on the water faster and progress with far less frustration on kites and boards designed for stability and forgiveness, not outright performance.
Start by browsing Kitesurfing gear as you read, then use the sections below to understand what actually matters in each category.
Kites to look at: For riders wanting an easy, dependable all-rounder to learn and progress on, the Duotone Evo or North Reach are a strong entry point - built as a go-to for entry-level riders through to advanced kiteboarders, with intuitive jumping and solid upwind performance. Once you're confidently riding and want to step up into freeride and big air territory, a kite like the Duotone Rebel SLS is worth looking at for its hangtime and direct bar feedback. If you've genuinely never flown a kite before, a small trainer kite like the Ozone Ignition is the safest way to learn the basics of the wind window on land before you're anywhere near water.
For the full range by riding style, browse Allround Kites, Freestyle Kites, Wave Kites, Big Air Kites, and Trainer Kites - with Ozone, North, and Duotone all well represented across the range.
Bar & lines: the control system
The bar is what actually connects you to the kite, and it's not a place to cut corners - this is your primary safety system as much as it's your steering. Every major bar on the market now uses a quick-release safety system, but the details of how each one handles depower, line length adjustment, and the safety release differ between brands.
A few real examples worth knowing:
- North Navigator and North Navigator Pro - North's control bar range, built around clean depower and a straightforward safety system. The Navigator Pro sits at the higher-performance end for riders who want to automatically untwist their lines after looping.
- Ozone Contact Bar V5 - Ozone's current-generation bar, designed for direct, responsive control across their kite range.
- Duotone Click Bar Quad Control - Duotone's flagship bar (the line that includes their well-known Click-In safety system), featuring precise backline trim, adjustable line length, and FLITE99 2.0 lines for a direct, responsive feel. It's the current evolution of the bar family long-time Duotone riders will recognise from the Trust Bar generation.
You're not necessarily locked into one brand - bars like the North Navigator can be paired with kites from other brands using the right line connectors. If you're at all unsure what will work with your setup, just ask the NZ Boardstore team before your first session. Browse the full range under Bar & Lines.

Twintip vs strapless: choosing your board
Twintip boards are symmetrical, ride in either direction, and are by far the most common choice for learning and general freeride sessions - you don't need to worry about switching your board around depending on which tack you're on. Boards like the Ozone Code V5 Performance Freeride Board, Duotone Gonzales Twintip, and North Atmos all sit comfortably in this all-round freeride space, while boards like the Duotone Twintip Jaime SLS are built for freestyle and big air once you're pushing into more advanced riding.
Strapless directional boards (including foil-compatible directional boards) are ridden more like a surfboard, without foot straps, and are the choice for riders focused on wave riding or kite foiling rather than flat-water freeride. They demand more board feel and balance than a twintip, so most riders build that foundation on a twintip first. Have a look through Directional / Foil boards once you're ready to progress that direction.
Beginner tip: size up rather than down on your first board. A slightly bigger board makes it far easier to get going in light-to-moderate wind, ride upwind, and recover after a fall - you can always size down once your technique catches up.
Harnesses: waist vs seat
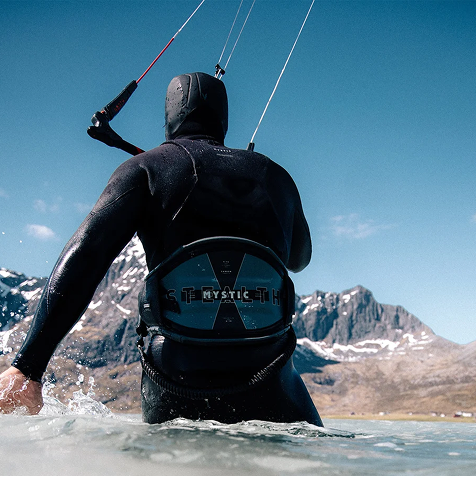
Your harness is what actually takes the kite's pull off your arms and onto your body, hooked in via the bar's chicken loop. There are two main styles:
- Waist harnesses sit higher, around your midsection, and are the more popular choice for freestyle, big air, and general freeride - they give you more freedom of movement for jumps and unhooked tricks.
- Seat harnesses wrap lower, around the hips and between the legs, and give a more locked-in, supportive feel that many riders - especially those newer to the sport or prone to back strain - find more comfortable over long sessions.
Fit matters more than brand here: a harness that rides up or shifts around under load is uncomfortable at best and unsafe at worst. Try a few on and get fitted properly before you buy - browse Male Harnesses and Female Harnesses or come in-store for a proper fitting.
Wetsuits, helmets & safety gear
New Zealand's water temperature varies a lot by region and season, so your wetsuit needs to match where and when you're actually riding - not just what looks good.
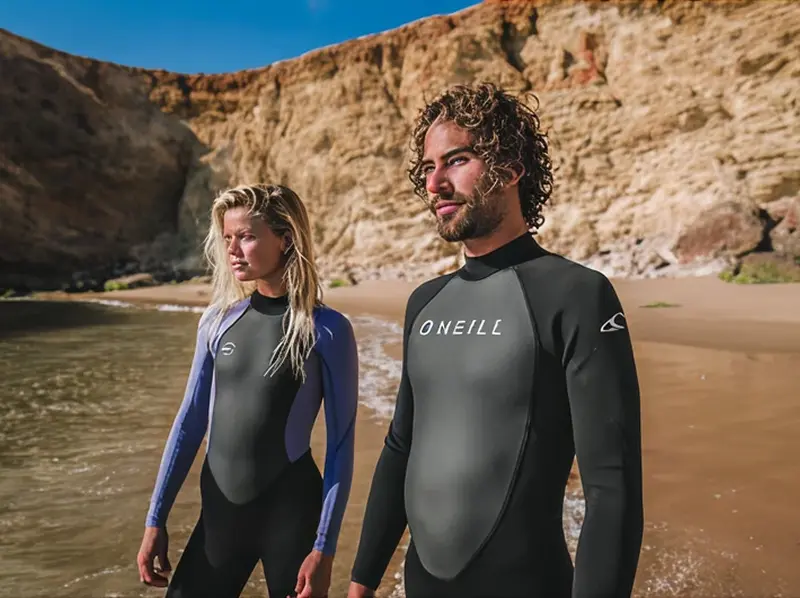
- Wetsuits: For Auckland and the North Island through summer, a 2/2mm or 3/2mm suit is usually plenty. Cooler months or South Island sessions call for a 4/3mm or thicker, and booties are worth adding once the water temperature drops. Browse the full range under Wetsuits, Clothing & Accessories, including dedicated Men's, Women's, and Winter Wetsuits collections.
- Helmets: Non-negotiable while you're learning, and a smart habit even once you're experienced - board strikes and hard landings happen to everyone eventually. See our range of Helmets.
- Impact vests: Add buoyancy and protect your ribs on hard falls, particularly useful while you're still learning to control the kite through gusts. Browse Impact & Floatation Vests.
Your first setup checklist
- Kite: Start on an all-round kite sized for your weight and local wind, not the most advanced model available.
- Bar: Match your bar to your kite brand and get the safety release checked before you rig up.
- Board: A twintip with a bit of extra volume makes learning and recovery much easier.
- Harness: Get properly fitted - waist or seat, comfort under load is what matters.
- Wetsuit: Match the thickness to the season and region you're riding in most.
- Safety: Helmet and impact vest, every session, no exceptions while you're learning.
Best kite spots around Auckland
Auckland's spread of harbours, bays, and coastline means there's almost always a spot working somewhere, whatever the wind direction on the day.
- Muriwai (West Coast) - a rugged black-sand west coast beach and one of the most popular spots in the wider Auckland area, best suited to riders comfortable in a bit more open-coast chop and swell.
- Eastern Beach & St. Heliers - sheltered, beginner friendly spots on the eastern side of the city, ideal for learning and cruising.
- Point Chevalier - our local Spot, covers almost every wind direction, flat water to choppy, tidal
- Takapuna, Orewa, Shakespear regional park - East Coast beach spots, wave spots
- Glendowie Sandspit - flatwater Big Air spot
And so on…
If you're new to any of these spots, it pays to check in with our team first - local knowledge on tides, hazards, and the right wind direction makes a big difference to your first few sessions.

Lessons or rentals first?
If you've never flown a kite before, don't skip straight to buying gear. Kitesurfing has a genuine learning curve, and proper instruction from a qualified school is the fastest and safest way to get through the early stages - flying a trainer kite, body-dragging, and your first water starts - without picking up bad habits or getting hurt.
Renting gear before you commit to a full setup is also a smart move once you're independent - it lets you try different kite sizes and board styles and confirm what actually suits your weight, local wind, and riding style before you spend on your own kit. See our Kite Rentals if you want to try before you buy.
FAQ